

Creating your own business cards offers a great opportunity to represent your individualism and what your business is all about. Microsoft Word offers a simple way to design your cards from scratch in very little time. We have put together this easy-to-follow guide on how to design your business cards in Microsoft Word. Have a read, it has everything you need to follow!
The first step is to ensure you set up your document or page layout to the correct dimensions. To do this:
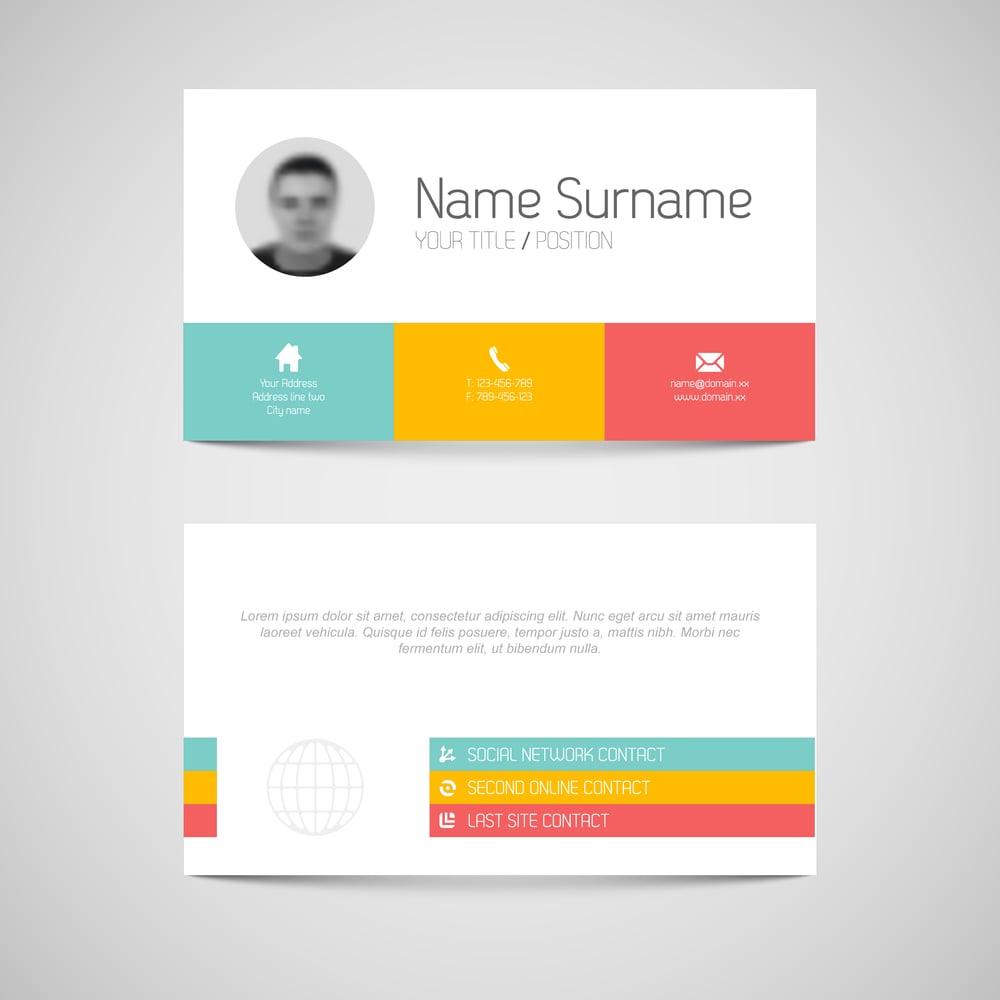
A key aspect of your business card design is the content you decide to include on it. This information will display your business name and your best forms of contact. It is essential to include your name, phone number, email, website URL, and if applicable, your business social media links.
To add text to your business card design in Microsoft Word:
Step 3 gives you the chance to get creative and insert your logo and business colours to design a card that’s unique to your brand. Here’s how!
*Please note that some colours may differ from what is viewed on screen and in the final print. See our CMYK guide to find out why.
To add an image, like your logo to your design:
To reposition the image select it and hit the Enter button until you’re satisfied
Adding a shape to your business card can add interest to your design and help differentiate your brand from others. To add a shape:
Once you have exercised all the different elements of your business card design it’s time to save your document. To ensure everything prints properly and the template remains as it should, you’ll need to save your file in a way that embeds or flattens all the elements.
The easiest way to do this is to save your finished file as a PDF:
Your business card is now ready to print! You can now Upload your new business card design and send it to us to print.
For more help or if you’d like a second pair of eyes to look over your design template, get in touch with our team and we’ll be happy to help. Or if you want a different way to design, check out our free business card templates that you can customise online for free.
We use cookies to enhance your experience. By continuing, you agree to our Privacy Policy.
Select which cookies you want to allow:
Save 5% on your order when you subsribe to our newsletter.
